Friday, October 11, 2013

5/6 Grade: Cultural Symbolism

This class was a combination of 5th and 6th graders.  Since they had been studying ancient civilizations I thought it would be a good time to look at symbolism and stylization in the art of  different cultures around the world.  After a discussion about symbolism we talked about how they could blend modern symbols/stylization with what they saw in traditional art from other cultures to create their own artwork.  They had the choice of focusing on the stylization and pattern or personal symbolism.

The students created one design that they could use to create two different projects.  The first was a watercolor and the second was embossed foil.  The pattern could be adapted to fit the medium.  The first step was to sketch a design.  The starting format was a circle with a square background.  After creating a design they were happy with they transferred the design to watercolor paper and used black sharpies to outline everything. Watercolor pencils were used to add color and then water was used to activate the pencils if they wanted a watercolor effect.

Creating the design
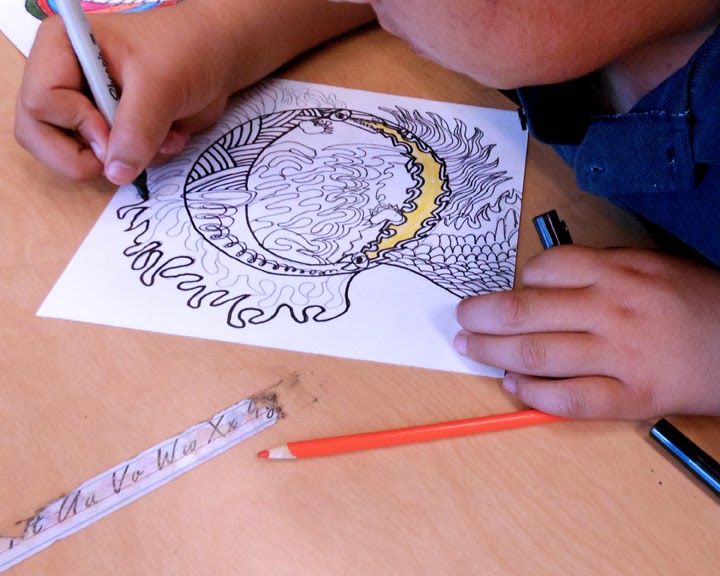
Outlining with sharpie

Activating the watercolor pencils
Coloring with watercolor pencils


Final Watercolor

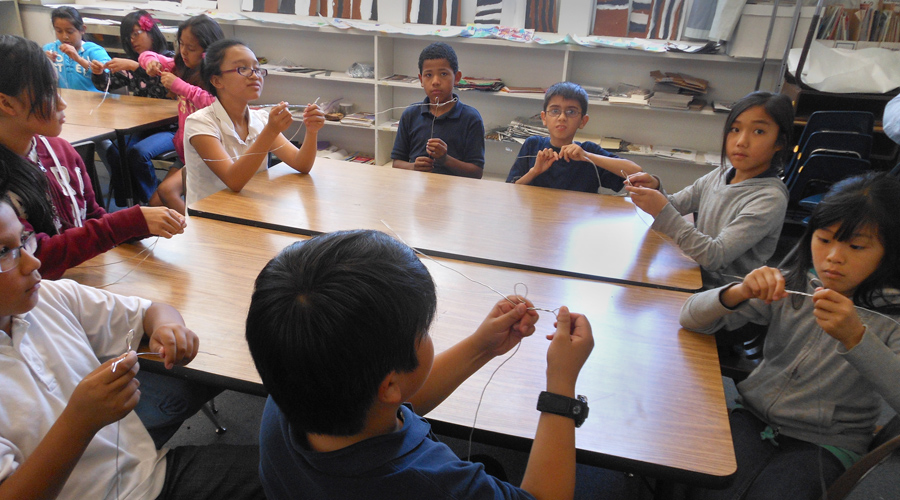
Students working on their watercolors


Examples of the finished watercolor designs


After finishing their watercolors the students transferred their original design to a piece of cardboard wrapped with several layers of heavy duty aluminum foil.  At this point they could make adjustments to the design by adding or subtracting details. They used a wood stylus to deepen the pattern they traced.


The final step was to sponge the entire surface with thinned down tempera paint.   The paint was then wiped from the surface leaving paint in the recessed lines.


Examples of the final aluminum foil designs


Examples of same pattern in both mediums


Sunday, October 6, 2013

Fifth Grade: Wire Figures

The fifth graders had been learning about figures and gesture.  Our first project was inspired by the playful figurative art of Keith Haring.  For our second project we moved from 2D figures to 3D.  After reviewing body proportion and gesture we made "stick figures" out of aluminum wire. The students made their own figure as I modeled each step.  One of the most important parts of this step is getting the proportion right.  They didn't want their figure to end up with Gorilla arms or T-rex arms.   If they used too much of the wire for the arms and torso they would run out of wire for the legs.


When their wire figure was completed we talked about how they could individualize their sculptures by adding hair, clothes and accessories.  They could opt to fill in the head and hands with aluminum foil.  After a demonstration of basic techniques on how to wrap and secure the pipe cleaners and tissue paper it was their turn to use their imaginations and create their own characters.  Chenille stems were used as a base (shirt/pants/skirt) and tissue paper, construction paper, pom poms and other odds and ends were available for detailing.


The final step to the project was deciding on a basic pose and then the figure was stapled to a wood base.  The pose could be changed or adjusted as desired.